Setting up a compiler
Unfortunately Eclipse only provides the Integrated Development Environment (IDE) but it is missing the actual compiler. To install a compiler, please follow the instructions for your operating system.
Windows compiler
Windows doesn't come with a build-in compiler. You could try to install Visual Studio, but it is tricky to get that working with Eclipse. Therefore we will install MSYS. MSYS is part of the MinGW suite, which provides free development tools for Windows.
You will have to follow these 4 steps:
-
Download and install MinGW
-
Download and install MSYS
-
Set your path environment variable
-
Restart Eclipse if it was started.
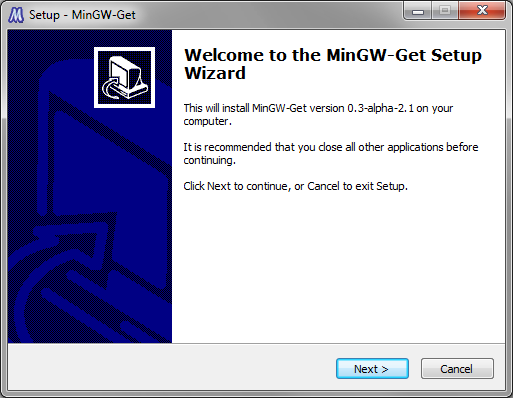
MinGW + MSYS
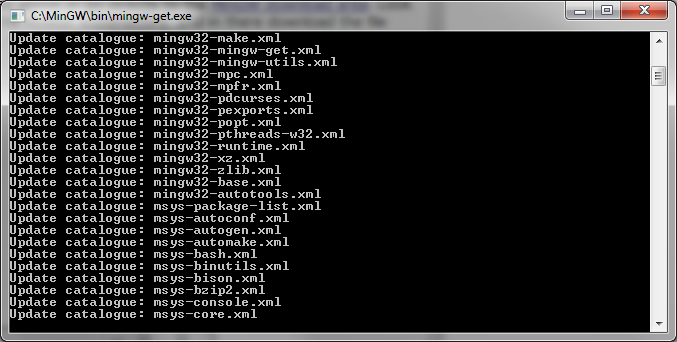
First, you need to download MinGW. You can either click through the websites mentioned above or go directly to the MinGW download area. Look for the Section "Automated MinGW Installer", then "mingw-get-inst". There, download the newest subdirectory. and in there download the file ending in .exe. The file name should be something like "mingw-get-inst-20110802.exe". You can also download mingw-get-inst-200110802.exe from the link given here.
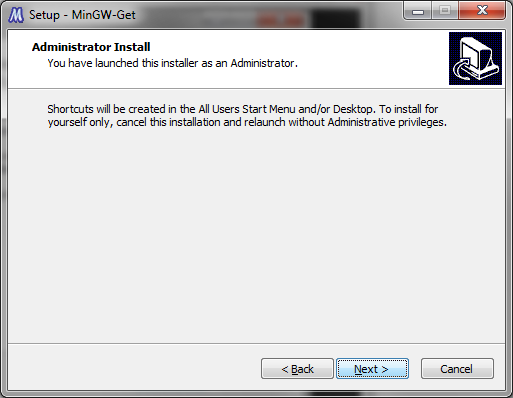
Make sure you install the program with Administrator Priviledges. Right-click on the downloaded file, and select "Run as Administrator".
Make sure the second screen tells you that this is an Administrator install. If you don't get this screen, select "Cancel" and re-start as administrator.
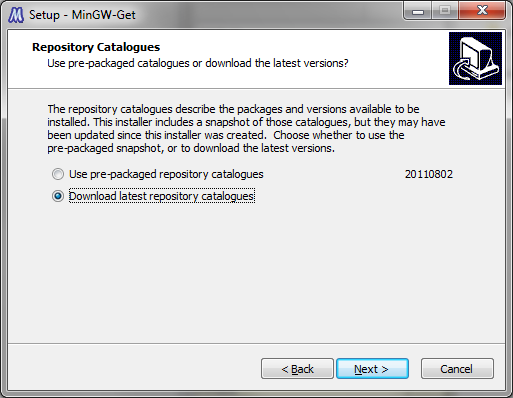
The next screen asks you if you want up-to-date versions of the files. Tell the installer that you want do download the newest catalog data.
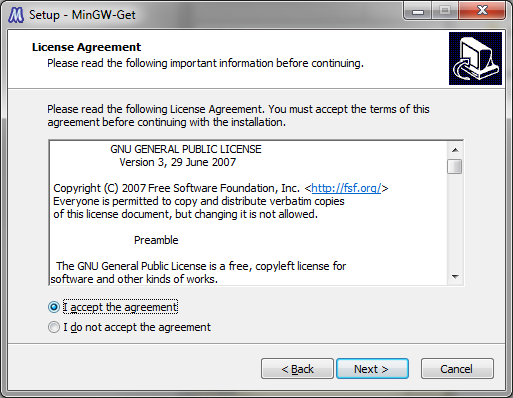
Next, you have to accept the License.
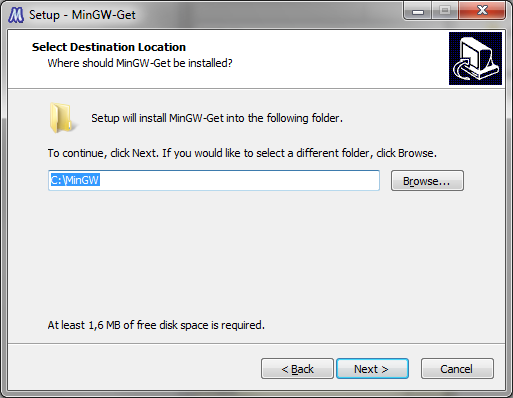
The following screen allows you to select a directory to install
to. The default directory C:\MinGW is
fine. You can select almost anything you like.
Note
Do not select a path containing spaces! This will lead to trouble later on!
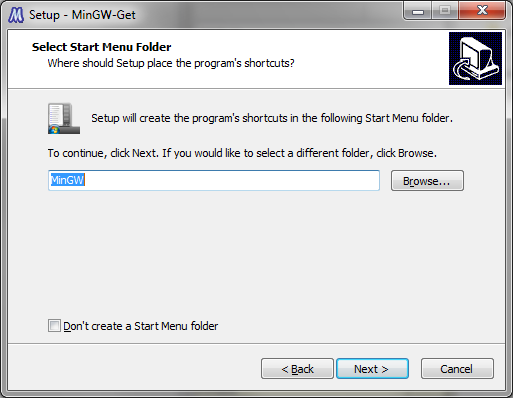
Next, you're asked if you want to create a start menu entry. This is a good idea for checking the install, so do it.
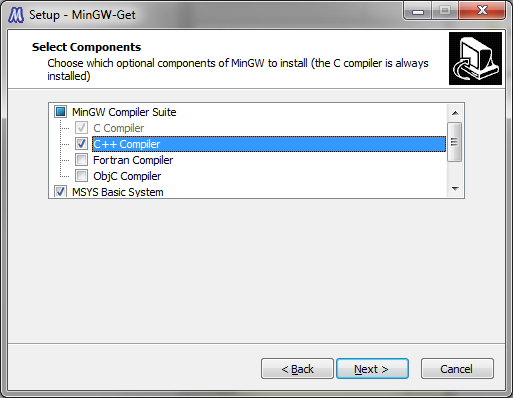
On the next screen, you again have to change things. You have to select "C++Compiler" and "MSYS Basic System". These two are necessary to run the compiler and the build-system on Windows.
The next screen lets you check the installation. Make sure it looks like this screenshot.
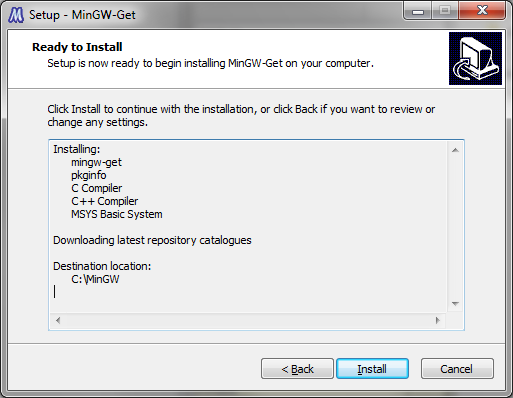
After selecting "Install", you have to wait for the installation process to complete.

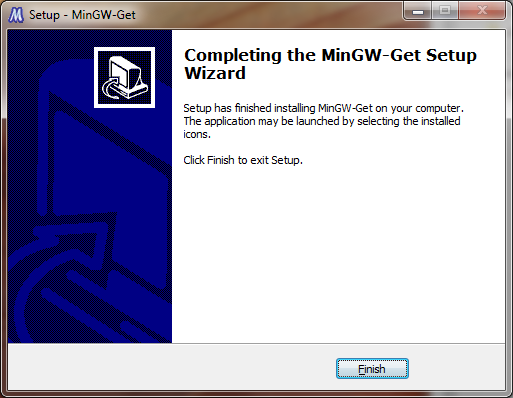
Once the installation is complete, hit "Finish".
Checkpoint: You should be able to start MSYS by going to Start / Programs / MinGW / MinGW Shell. A console window should open. There, the following commands should give you some output:
gcc --version
g++ --version
make --version
Close the MSYS shell again. We'll make sure that these tools are available for all Windows programs in the next section.
Environment Variables
The next thing you need to do is set up your Path environment variable.
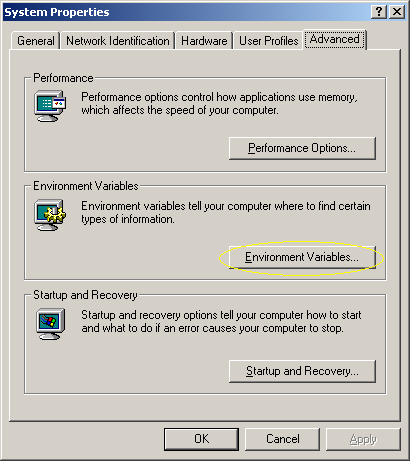
On Windows 2000/XP, right-click on My
Computer and select
Properties. Then, select the
Advanced tab. There should be a button
called Environment Variables.
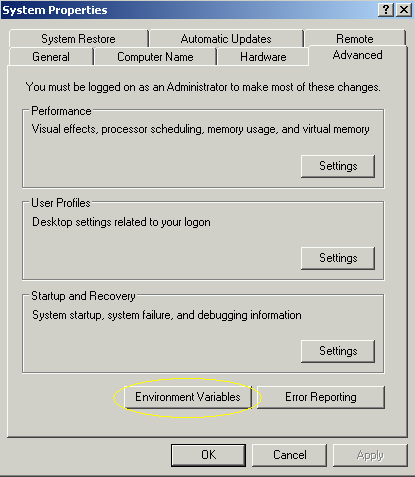
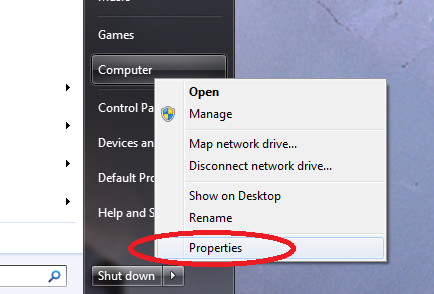
In Windows Vista / Windows 7, Click on the Windows Logo, right click on Computer, select Properties
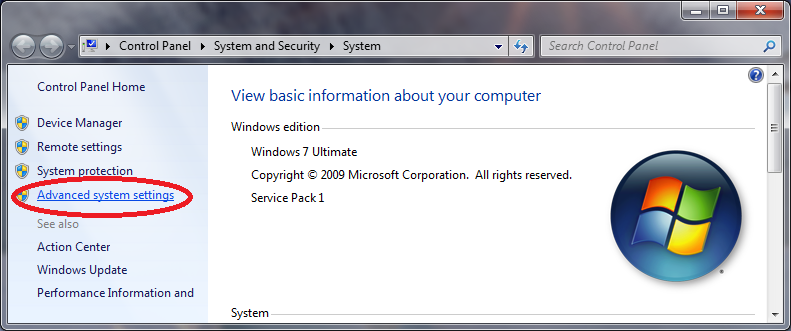
In the control panel, select "Advances system settings"
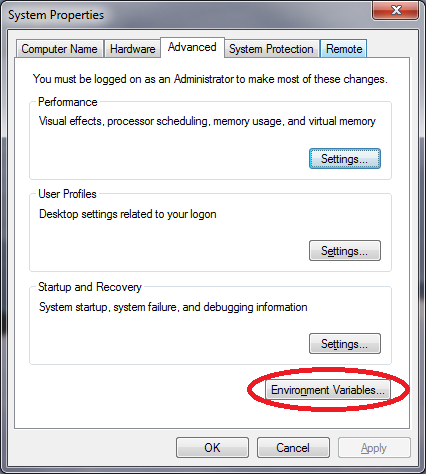
Finally, click on "Environment Variables"
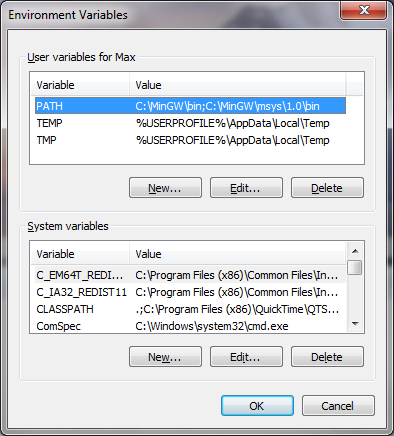
In the environment variables, there are two sections, one for the local user (you) and one for the system. Depending on whether you want the paths to be set for everyone, or for you, do one of the following:
Warning: I had reports of people deleting their existing Path environment variable! Please be very careful when editing an existing value! By default, Windows has the whole line selected, resulting in overwriting what was in there!
If you want to set it for everyone, look for the variable
Path in the section System
variables. Click Edit.
There should already be some text in there, append
;C:\MinGW\bin;C:\MinGW\msys\1.0\bin; (or your appropriate
paths, e.g. ;C:\msys\1.0\bin;C:\mingw\bin if you
installed MinGW 5 / MSys 1.0.11) to it, and select
OK multiple times. Please make sure that
you do not overwrite what was in there!
If you just want to set it for you, look for
Path in the upper section. It is very
likely not there yet. So select New... and
enter C:\MinGW\bin;C:\MinGW\msys\1.0\bin (or your
appropriate paths, see paragraph above). Then select
OK multiple times. Again, if there was a
setting before, do not delete it, but rather append your path!
There seems to be a problem with a very long PATH environment variable on some systems. According to reports, Eclipse will fail to compile and build, where as compiling and building from a command window may work fine. In this case, try to prepend the path to MinGW and MSYS rather than appending it.
Congratulations. Now you have a complier and make set up on your computer. Continue with the section called “Setting up Eclipse”.
Checkpoint: Open up a command terminal (cmd) and type:
make --version
g++ --version
gcc --version
Each one of these should work now. If not, you have either not installed MSYS correctly or not set your path environment variable. Also, try logging out and back in.
Linux / Unix Compiler
In most Linux and Unix distributions the compiler is already installed. Check if you can run
g++ --version
and either
make --version
or
gmake --version
If both of them (g++ and either make or gmake) work then you are already done. If not, please install those. This may be very different depending on which Linux or Unix distribution you have. Install the tools and continue with the section called “Setting up Eclipse”.
Mac OS X Compiler
On Mac OS X you can also try the commands explained in the section called “Linux / Unix Compiler” to check if you have the necessary tools installed. If not, you will need to install the developer tools
Mac OS X up to Snow Leopard (10.6)
The developer tools are either on one of your Mac OS X CDs that came with your computer, or you can download them at: Apple's developer connection.
Mac OS X Lion (10.7) and Newer
To get the compiler, you have to install developer tools (Xcode) from the App Store. After downloading, you have to run the installer to actually install the developer tools.
Note
If you have upgraded to Lion from an older version of OS X, you have to redo both of these steps (download + install). Upgrading to Lion breaks your existing developer tools. Again: You have to do this after an upgrade to Lion, even if you have previously installed the developer tools!

After you've downloaded developer tools (Xcode), you have to go to your Applications folder and run the installer.
During the install, you may encounter the following error messages:
- In order to continue installation, please close the following application: iTunes
-
You may need to do two things:
-
Close iTunes, see if that helped.
-
In a Terminal window, type: killall iTunesHelper
-
- No matching processes belonging to you were found
-
This can happen if your Unix username contains a space. The workaround is to create an admin user to be used during the installation.
-
Open system preferences, go to "Users and groups"
-
Unlock the user preferences, type in you password
-
Click on "+" to create a new user
-
For "New account" select "Administrator"
-
For fullname and account name enter something in all lower cases without spaces, e.g. "admin".
-
In der Dropdownmenu for "new account" change "Standard" to "Administrator".
-
Log out, and log back in as your new admin user.
-
Try installing again.
-
Log out, log back in as your normal user
-
Delete the admin user (System preferences, Users and Groups, unlock, select the admin user, click on "-")
-
-
After Xcode has finished installing, you can open up a terminal (Applications / Utilities / Terminal) and check if g++, gcc and make are working:
gcc --version
g++ --version
make --version